REVIEW · TAMARIND FALLS & WATERFALL HIKES
Mauritius: Tamarind Falls Canyoning Adventure
Book on GetYourGuide →Operated by Yanature · Bookable on GetYourGuide
One canyoning session and you get hooked. This Tamarind Falls adventure at the 7 Cascades mixes waterfall rappels with a natural zipline, so you get both adrenaline and great photo moments. I especially like how the guides keep the experience practical and safety-focused with certified support, and I love that the pace stays flexible depending on how you feel. One thing to consider: you’ll need basic fitness and you must know how to swim, and there are skip options only if you want them.
You’re in for about 3 hours on a route with roughly 3 km of trail and around 125 m of elevation gain, moving through waterfalls, natural pools, and tropical greenery. In my mind, the best part is the setup: training first, gear ready, and options on the hard bits. Guides you may meet include Nico, Jeremy, and Gregory, who have a reputation for making you feel secure while still keeping it fun.
In This Review
- Key highlights at Tamarind Falls (7 Cascades)
- Tamarind Falls 7 Cascades: what this canyon route is really like
- Safety briefing and training: why this feels controlled (even when it’s intense)
- Your waterfall rappels: what to expect on the rope
- Natural zipline plus the optional jump: the adrenaline section
- Gear is included: what Yanature provides and why it matters
- Meeting point and timing: avoid the common confusion
- What to bring (and what not to): canyon rules that save you headaches
- Who should book this, and who should skip it
- Price and value: is $88 a smart spend?
- Tips to get the best experience on your canyon day
- Should you book this Tamarind Falls canyoning tour?
- FAQ
- How long is the Tamarind Falls canyoning adventure?
- How many rappels are included?
- What heights are the rappels?
- Is there a zipline?
- Is an optional jump offered?
- Do I need prior canyoning experience?
- Can I skip any rappel sections?
- Do I need to know how to swim?
- What’s the group size?
- What is included in the price, and what’s not?
Key highlights at Tamarind Falls (7 Cascades)
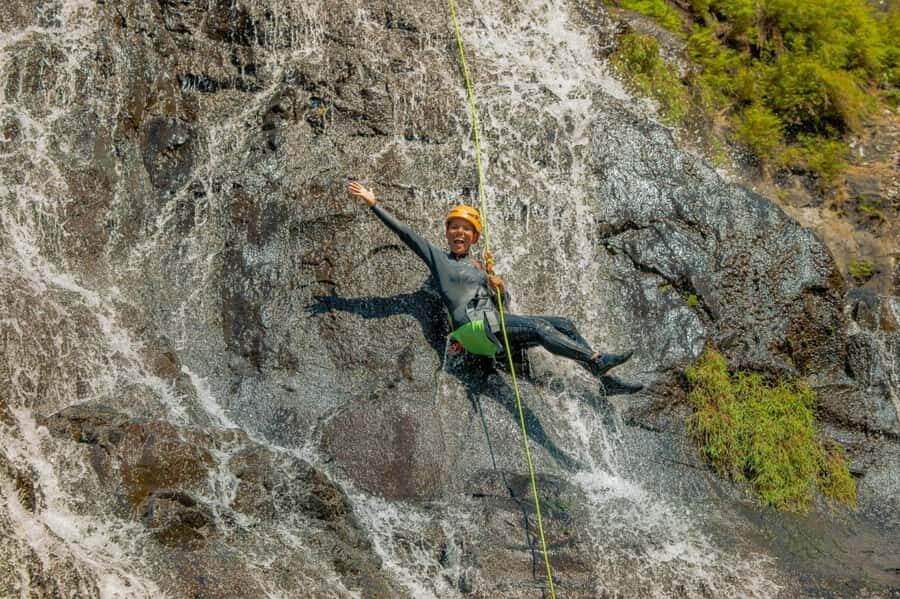
- Three rappels (10 to 25 m) close to the waterfalls, with hiking alternatives if you’d rather not rappel
- One natural zipline for that quick, floaty rush over the water
- Optional jump for people who want an extra adrenaline hit
- Safety briefing plus hands-on training before you start moving through the canyon
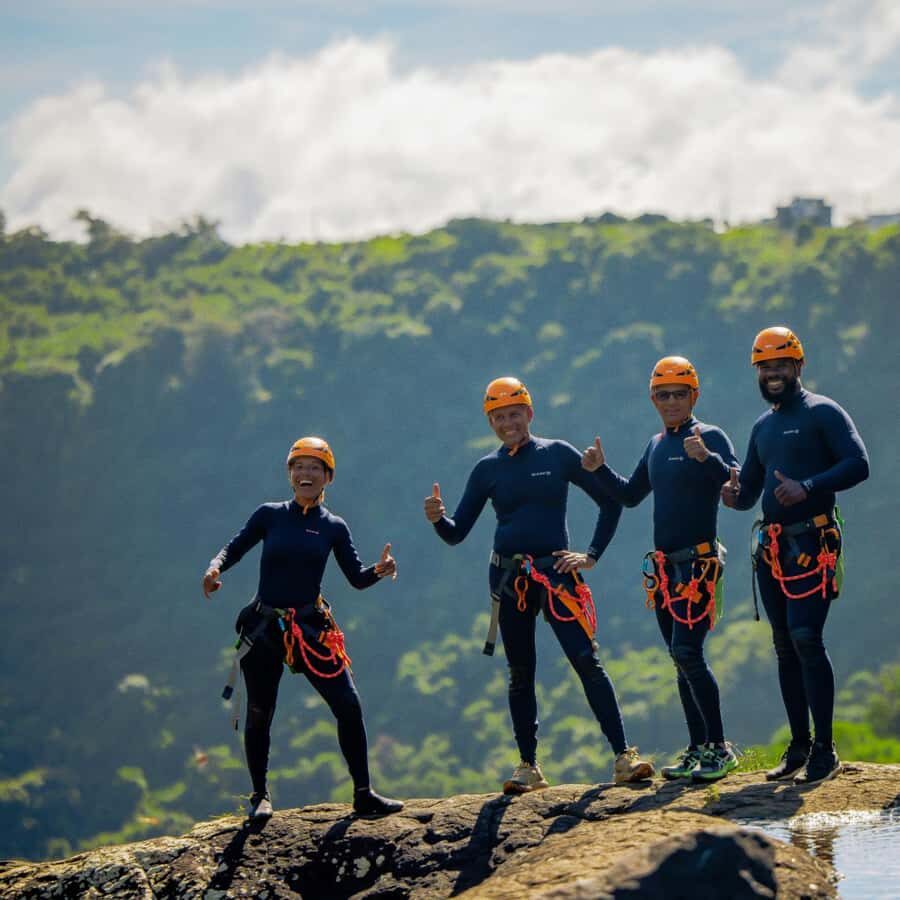
- Small group size (up to 6) with two certified guides for close attention
- Waterproof phone pouch and guide photos so you can focus on the moment, not your camera
Tamarind Falls 7 Cascades: what this canyon route is really like
Tamarind Falls is one of Mauritius’s iconic outdoor playgrounds, and this activity is designed to show it off in a way walking alone can’t match. Instead of strolling viewpoints, you move through the cascade zone using rope lines, natural pools, and waterfall passes. Think wet rock, moving water, and short bursts of intense action that come in the middle of calmer hiking segments.
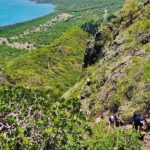
The route includes 3 rappels ranging from 10 to 25 meters, plus a natural zipline and an optional jump. Between each feature you’re hiking along the canyon path, which is where the “Mauritius feel” happens: lush surroundings, waterfalls you can hear long before you see them, and the kind of green, humid air that makes you realize you’re doing something more physical than a normal tour.
You’ll also be walking a bit: about 3 km total with around 125 m of elevation gain. That’s not a mountain hike, but it does mean you’ll want to be comfortable moving on uneven terrain while wearing gear.
You can also read our reviews of more tours and experiences in Mauritius.
Safety briefing and training: why this feels controlled (even when it’s intense)
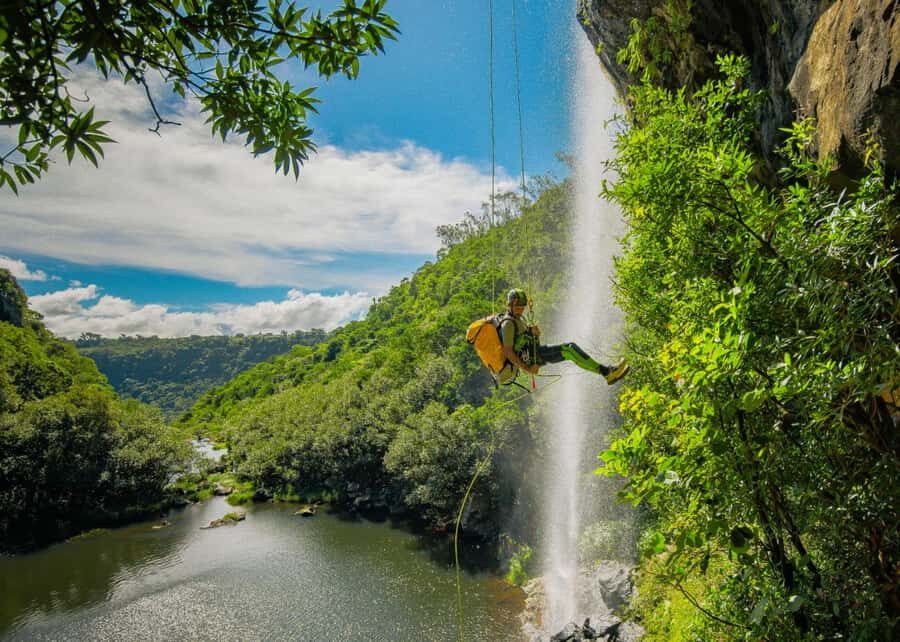
If you’re new to canyoning, the big question is always the same: will you be safe, and will you understand what to do? Here, the answer is baked into the experience. Before you rappel, you get a hands-on safety briefing and practical training session. That matters because canyoning isn’t just about courage. It’s about technique—how you clip in, how you descend, and how you stay balanced while water hits you from above.
You also travel with two certified professionals (FFME and Wilderness First Aid), and that two-guide setup matters on a canyon route. It’s easier to get your rope system checked, easier to correct small mistakes early, and you’re not left guessing while standing near slippery rock.
The pace tends to be adjustable. In the way the guides run the day, you can go dynamic or slow. The key detail: every rappel has a hiking alternative if you want to skip that specific section. That gives you control without forcing you into a full sit-out day.
One more “this is practical” point: participants are expected to be able to swim and have a basic fitness level, because you may end up in water during the route and you’ll want your body to stay calm rather than panic.
Your waterfall rappels: what to expect on the rope
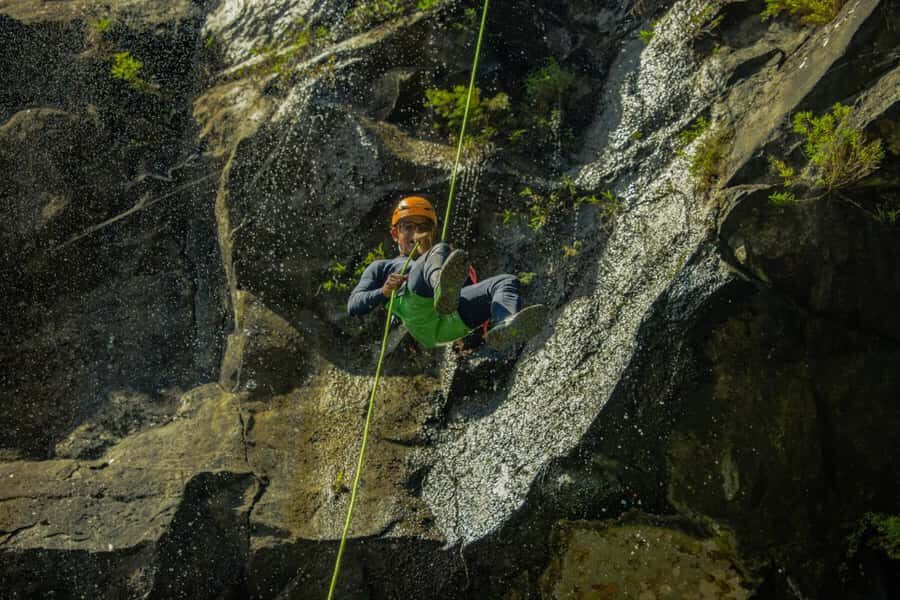
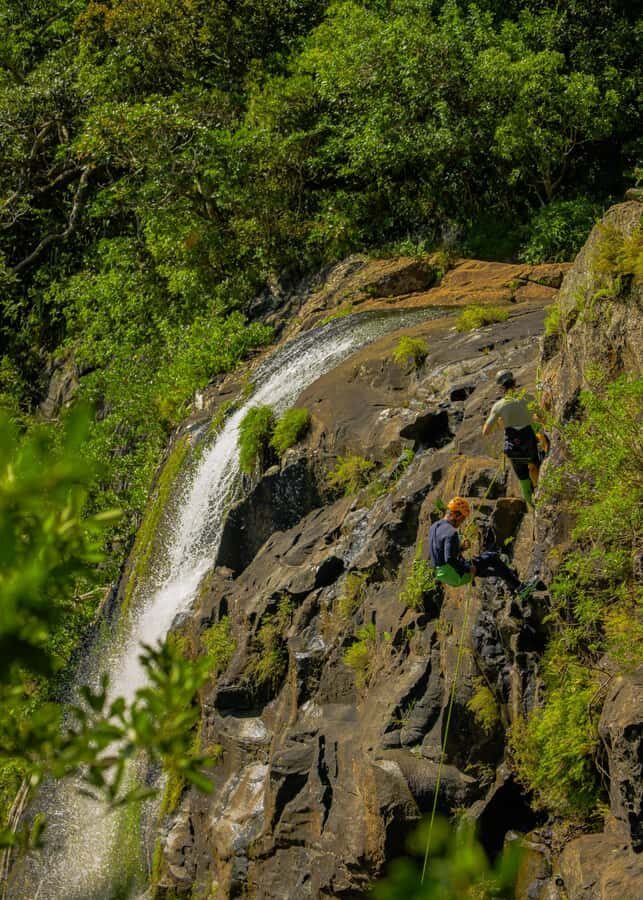
The heart of the tour is the three waterfall rappels, with drops from 10 to 25 m. That range is wide enough to feel like a real adventure, but the structure is what makes it manageable: you’re not thrown into the deep end without coaching.
On a rappel day, you’ll feel three things in order:
1) setup (gear, clipping, instructions)
2) descent (water sound gets louder, and the canyon walls feel close)
3) regrouping (short hike segments where you reset and move to the next section)
Because you’re rappelling down waterfalls rather than just descending alongside them, the sensation is more intense. Water splashes, the rock can be slick, and visibility can shift as mist rises. This is exactly why the training and certified guidance matter. You don’t need prior canyoning experience, but you do need to listen and follow cues.
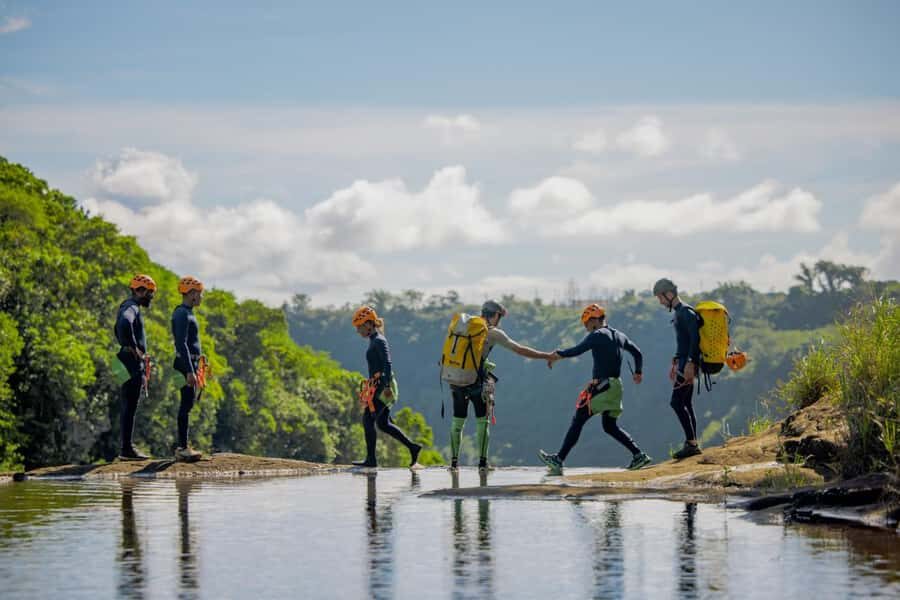
Also, it helps to know that the tour isn’t only about the drops. You’ll spend time moving through the canyon between features, where you can take in the views and natural pools and catch your breath.
Natural zipline plus the optional jump: the adrenaline section
After the rappels, you get a natural zipline, which is one of the best moments to break up the day. Rappelling is slow and technical; a zipline is quick and smooth. It’s also a nice reset because you’re not dealing with rope friction the same way. Instead, you focus on posture, timing, and the simple thrill of gliding.
Then there’s the optional jump. Optional means you decide based on your comfort level and how the day feels. If you’re someone who likes pushing limits, this is where you’ll get the extra rush. If you prefer to keep the day controlled, you can skip it and still have a full adventure day.
The best approach is to treat both as confidence tests, not bravery contests. The guides’ job is to help you choose what fits your comfort level and technique.
Gear is included: what Yanature provides and why it matters
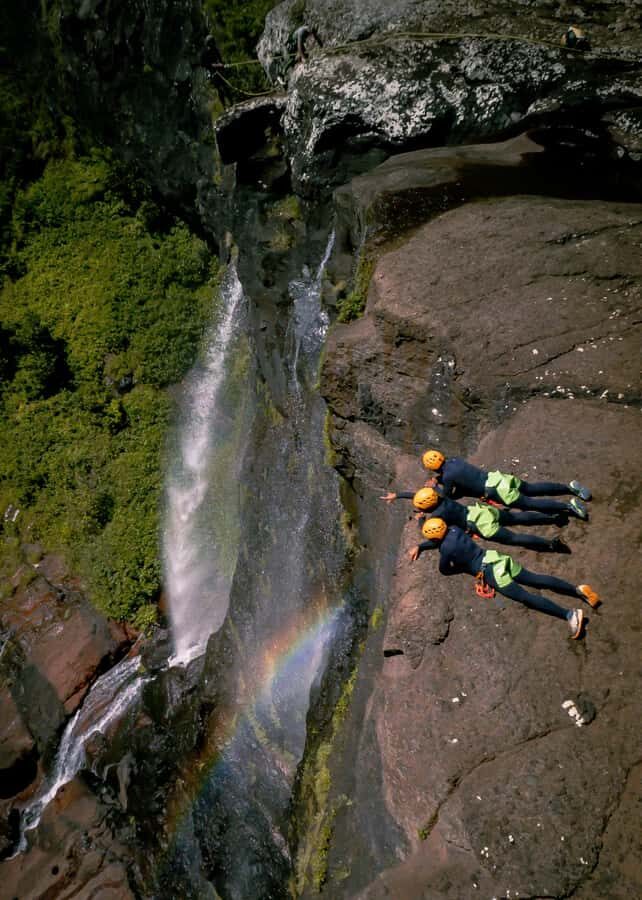
This is one of the tours where the “included gear” is actually meaningful, not just a checkbox. You get full technical equipment: a helmet, harness, wetsuit, and descent system. You also get a waterproof phone pouch and personal photos taken by your guide.
Here’s why that’s valuable in real life:
- Wetsuits help with comfort in cold water and reduce the drain-the-fun factor
- Helmets and harnesses are the foundation of a safe rappel setup
- The descent system is specialized and not something you want to improvise
- Waterproof phone storage lets you capture moments without turning your day into frantic phone handling
- Guide photos are a time saver and often better than you taking selfies while your hands are busy
From the way the guides run the day, photos aren’t an afterthought. You should expect high-value shots of you in action, and you may receive them via messaging apps after the tour.
Meeting point and timing: avoid the common confusion
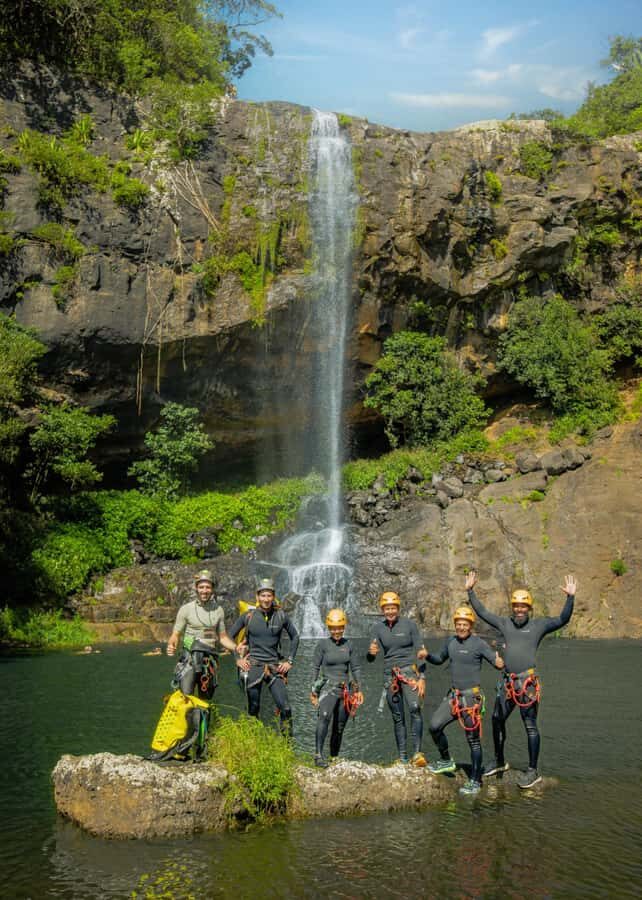
The meeting point setup can be confusing at first glance, so here’s the practical version. About 1 km before the meeting point, you pass a bus stop where you’ll likely see other tourists and guides. That’s not your stop. Keep going until you reach the exact pinned location, where your guide will be there to welcome you.
Timing matters because the route is only a few hours, and you’re moving through rope sections on schedule. If you arrive late due to traffic, the operation is built to handle it—just call your guide so you don’t lose time.
What to bring (and what not to): canyon rules that save you headaches
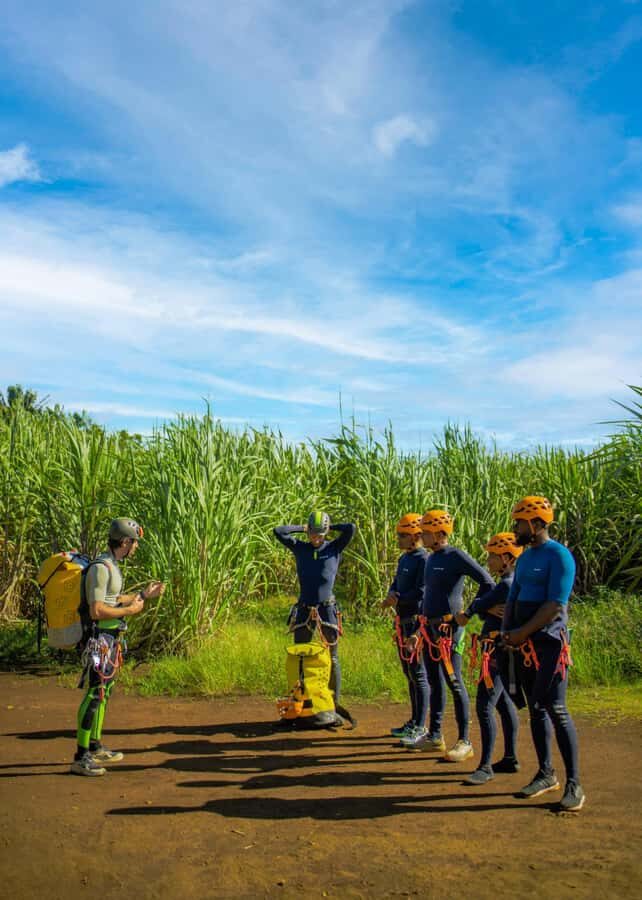
You’ll make this day easier on yourself if you show up ready for water and ropes.
Bring:
- Swimwear
- Change of clothes (you will get wet)
- Snacks (helpful on a 3-hour active day)
- Water
- Insect repellent
- Sports shoes
Not allowed:
- Sandals or flip-flops
- Open-toed shoes
- Bare feet
- Alcohol and drugs
Even if you’re tempted to wear the lightest footwear, skip it. The tour requires footwear that supports movement on uneven rock and can handle wet conditions. Sports shoes are the safe choice.
Who should book this, and who should skip it
This tour is not for everyone. The good news: the “not for you” list is clear, so you can avoid a bad match.
It’s suitable when you:
- Know how to swim
- Have a basic fitness level
- Can handle some vertigo-related discomfort only if it’s mild (because see below)
It’s not suitable if you have:
- Vertigo
- Back problems
- Medical conditions that make physical risk a concern
- You’re pregnant
- You’re under 14
- You’re over 65
- You weigh over 220 lbs (100 kg)
- You’re a non-swimmer
- You use a wheelchair
If you’re unsure where you fall, this is one of those tours where it’s better to ask questions before paying. A canyon day is active and technical, and conditions change fast once you’re in the water and on the rock.
Price and value: is $88 a smart spend?
At $88 per person for about 3 hours, this is the kind of adventure that can feel like a bargain or a splurge depending on what you compare it to.
Here’s what you’re paying for, beyond “being taken to a waterfall”:
- Three rappels (10–25 m), plus zipline and optional jump
- Two certified guides and technical oversight
- Training session before you start
- Complete gear: helmet, harness, wetsuit, descent system
- Waterproof phone pouch
- Personal guide photos
What’s not included:
- Transport to the location
- Meals, water, sunscreen
- Shoes (you bring sports shoes)
So if you’re already paying for taxis and snacks anyway, the value becomes clearer: you’re not renting gear, you’re not paying for instruction, and you’re not doing it with a huge group where nobody really checks your setup.
For me, the best value signal is the combination of small group size (max 6) plus two certified guides. That’s the part that usually determines whether you feel confident and enjoy the day rather than just survive it.
Tips to get the best experience on your canyon day
You’ll have a smoother time if you plan like a canyoneer, not a tourist with a hat and a camera.
1) Arrive prepared for getting wet
Bring the change of clothes you promised yourself you’d pack. A quick snack before you start also helps your energy stay steady for the rappels.
2) Don’t fight the water, work with it
Water splashes are part of the experience. Your job is to follow the guide’s timing and technique, not try to stay totally dry.
3) Use the skip options if you need them
Every rappel has a hiking alternative, which is a huge mental relief. You’re not failing if you choose the alternative. You’re matching the day to your comfort.
4) Apply bug protection before you start
Insect repellent is listed for a reason. Put it on early so you’re not distracted while you’re trying to listen and clip in.
5) Wear sports shoes and keep everything simple
You’re moving, climbing a bit, and then doing technical rope work. Simple footwear and straightforward clothing choices reduce distractions.
Should you book this Tamarind Falls canyoning tour?
I’d book this if you want a real adventure with structure. Three waterfall rappels and a zipline mean you’ll get multiple “wow” moments, not just one. The certified two-guide setup plus hands-on training makes it far more approachable than you might think, even if you’ve never canyoned before.
I wouldn’t book it if you’re sensitive to heights or water movement, if you have back issues, or if swimming isn’t comfortable. And if you’re traveling with no transport plan, budget for getting to the meeting area since transport and meals aren’t included.
If you’re the type of traveler who likes earned thrills—earned by technique, not luck—this one fits well.
FAQ
How long is the Tamarind Falls canyoning adventure?
The activity lasts about 3 hours.
How many rappels are included?
You’ll do 3 rappels.
What heights are the rappels?
The rappels are approximately 10 to 25 meters.
Is there a zipline?
Yes, the tour includes 1 natural zipline.
Is an optional jump offered?
Yes, there is an optional jump.
Do I need prior canyoning experience?
No prior canyoning experience is required.
Can I skip any rappel sections?
Yes. All rappels can be skipped via alternate hiking trails if needed.
Do I need to know how to swim?
Yes. You must know how to swim.
What’s the group size?
It’s a small group limited to 6 participants.
What is included in the price, and what’s not?
Included: guides (FFME and Wilderness First Aid), training, technical equipment (helmet, harness, wetsuit, descent system), waterproof phone pouch, and personal photos. Not included: transport to the location, meals, water, sunscreen, and shoes.